



Photobucket Photobucket Photobucket Photobucket Photobucket Photobucket
Showing posts with label kids. Show all posts

Tuesday, December 13, 2011

Marshmallow Snowmen (and women)

Are you looking for a simple yet festive craft that doubles as a treat to bring in the festive season? Try making marshmallow snowmen, er.....women, er......people. How about Mary Poppins?


This activity is more for you than for your child, or do it together. It involves a lot of tiny pieces of candy and a lot of sticky stuff like corn syrup and peanut butter which is hard to maneuver. If you don't mind what these look like then go ahead and assemble them together but if you are giving these away as gifts (such as teacher or neighbor gifts...I'm thinking hot chocolate stirrers? Maybe next year....) then I'd just assemble it yourself. They do take a bit of time and patience while drying. I had each girl from our preschool group just tell me which features they wanted and I assembled it for them, allowing them to stick on the buttons and eating the Oreo cream. Once they were dry I put them in a sandwich bag and tied it up so they could take it home!


Materials: 
You probably have most of these things on hand. Just use what you can find in your pantry or leftover Halloween candy!
--6" lollipop stick or straw
--Marshmallows--3 regular sized (mini ones for piles of snowballs or cloud effect!)
--Eyes--mini chocolate chips or mini M&M's
--Buttons--mini M&M's smarties or red hots
--Scarf--lemon heads or fruit roll-ups
--Hat--chocolate ring with large gum drop or other chocolate candy on top of half an Oreo cookie
--Arms--pretzel sticks
--Nose--mini M&M or candy corn
--Mouth--licorice rope or mini chocolate chips
--Corn syrup and/or peanut butter
--Mini cupcake liner, optional


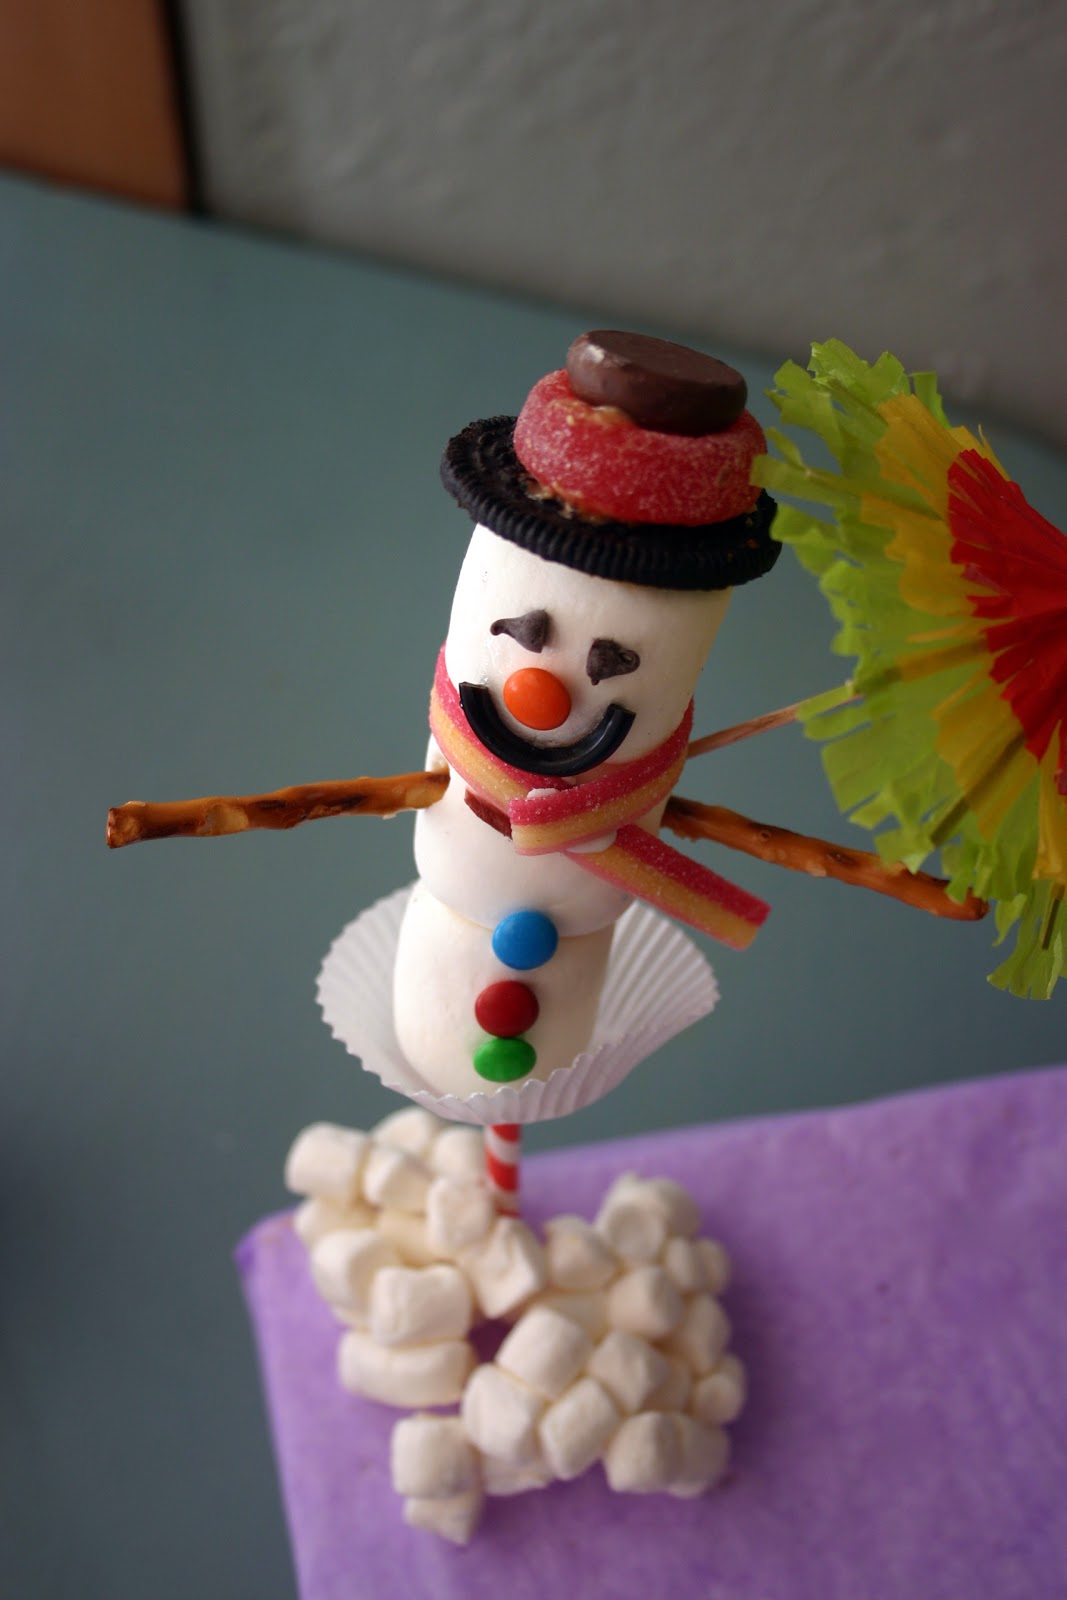
First, you start with three regular sized marshmallows. Using either a 6" lollipop stick or straw (though paper straws are not as strong they are so cute!) slide the mallows on. Next, insert eyes. I used mini chocolate chips (but any small candy item will do). I poked a tiny hole using a toothpick in corn syrup then inserted the chip. For the nose, I used mini M&M's for some and then for others I used cut candy corn. For the mouth there are several options. You can use licorice rope (I used black because I had it leftover from marshmallow spiders) or a row of mini chocolate chips. And for the buttons I used mini M&M's but smarties or red hots would work for these too. For all of the facial and button features, I used a toothpick dipped into corn syrup to stick them on. Corn syrup does take a long time to dry. If you're in a hurry or they are not sticking, just dab on some peanut butter. The arms are just pretzel sticks stuck into a hole that I stabbed with a toothpick first.

The scarf and hats were the trickiest to make stick. With that hats I twisted Oreo's apart, scraped (or let the kids lick if it is for them) off the cream (I had some left over from Halloween) and used one half. Then I bought this Christmas mix that had jelly rings and chocolate covered jelly candies. They were nice and round. I stuck them all together with peanut butter after I realized the corn syrup was just sliding around with the weight. Corn syrup is a good option for kids with allergies or for a glossy look.
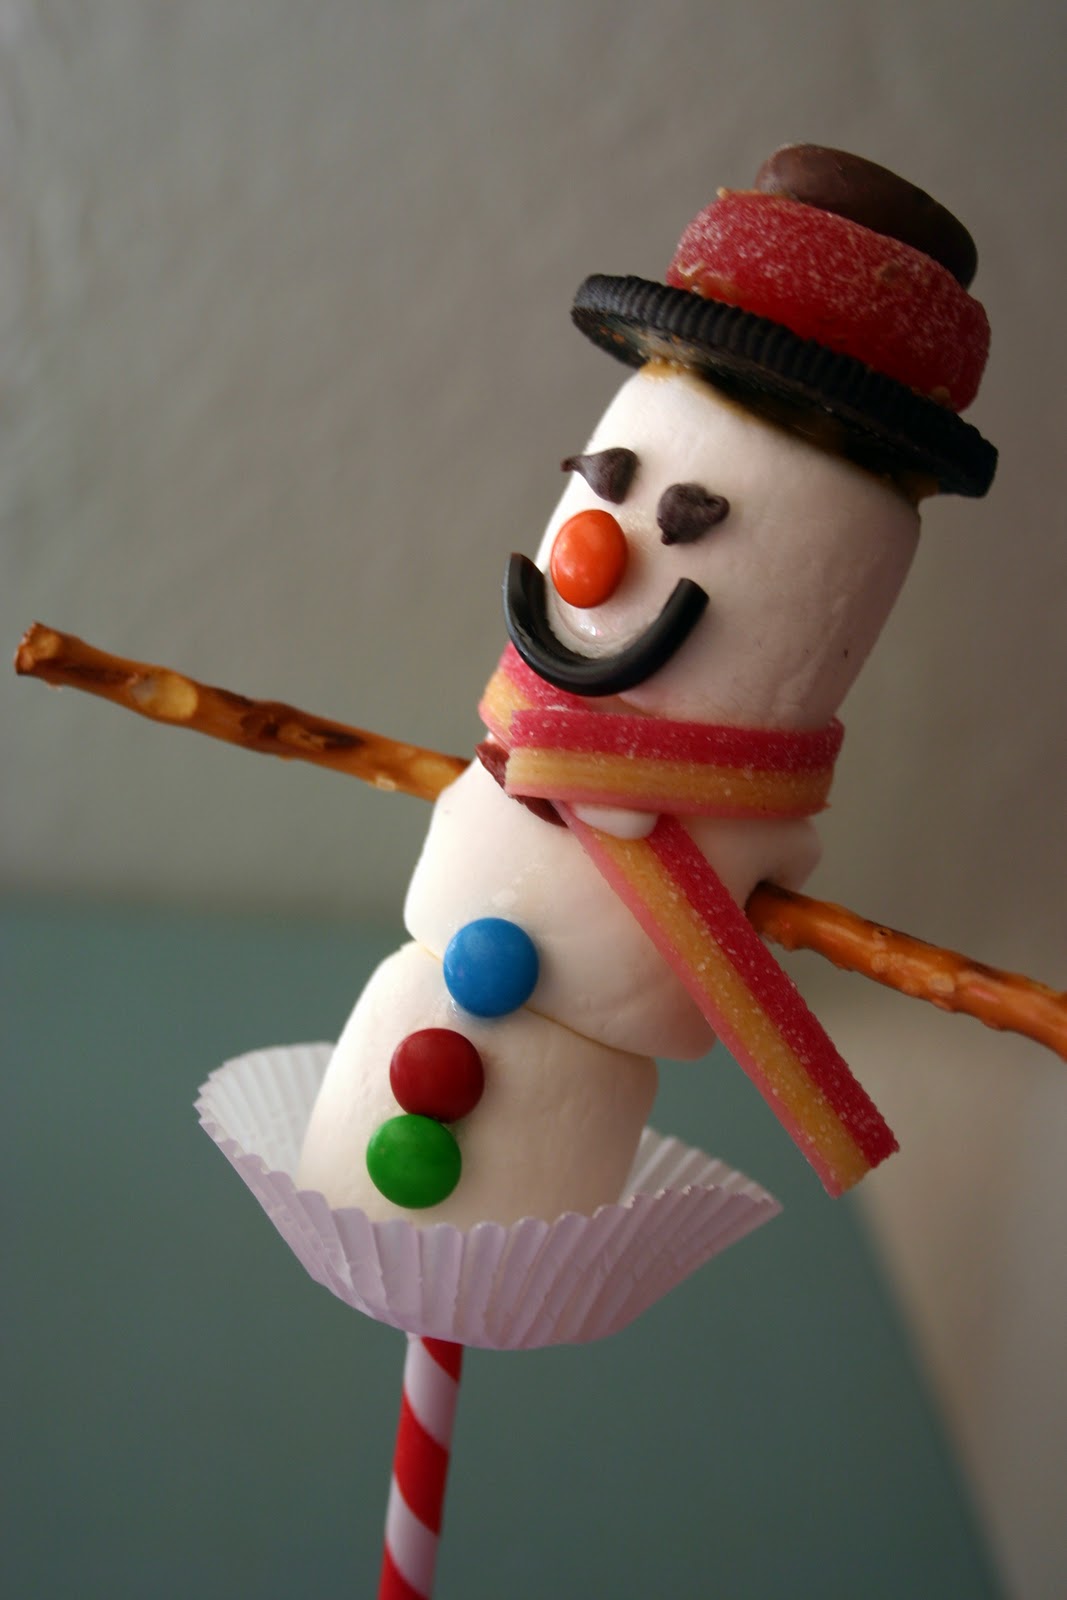
 

The scarves we used were made out of sour air heads. It looked kind of "snowy" with the sugar coating and it was striped. I just cut them down the middle, lengthwise, and got 2 scarves out of each candy. I also thought of using fruit by the foot or fruit roll-ups for a more solid color. The nice thing about fruit roll-ups would have done is stick to each other better. For mine, I tried using corn syrup and peanut butter to make the scarf stick to itself but they wouldn't stick. Finally, I decided to use a peppermint brach nougat candy (I LOVE those things). I just tore off a piece, smashed it and stuck them together. That worked like a charm!

For the Mary Poppins person I used a cookie, then jelly ring then a Hershey kiss (with the tip bit off) inserted into the ring. For fun I got out some cocktail umbrella's to finish off her look.


For the snowman, well, he got a sword.


 Have fun!

Print Friendly and PDF

Monday, November 14, 2011

Thanksgiving Kid's craft


Gobble! Gobble! Thanksgiving is almost here! It's one of my favorite holidays. Eating and spending time with family. What can be better than that? The last week we've been trying to teach our three young children about this holiday. Not only about the history of it but about being grateful. I think it's wonderful that Thanksgiving is right before Christmas becuase it begins to put things in perspective for us. My children are already asking about Christmas and gifts! But I am trying to teach them about being grateful too. For J's preschool group last week we made these little turkeys.


Simply grab 2 pieces of card stock. Cut out two circles from one (or use a paper sack for one of the cirlces like I did here). Gather some leaves, of all sizes and colors. Lay out the leaves like a fan tail, and then glue the circles on top. Then add two googly eyes and candy corn for a beak. Simple! It's kind of fun to it the next day because the leaves curl up a bit and look a little more feather like. 

REMEMBER: sign-up for the Twilight Woods giveaway. It ends tonight at 11pm. I'll announce the winner tomorrow! 

Print Friendly and PDF

Friday, April 1, 2011

Rice Krispie Easter nests


Now that Spring has been marked on the calendar for over a week, it finally feels like it outside, even if we did just have a snowstorm last week. I can hear the chirps of happy bird songs outside and it puts a smile on my face. A fresh start!

Here is a simple and fun idea to celebrate with your children. Rice Krispie Easter egg nests.


All you need is:

**one batch of rice krispie treats. Roll a small handful sized amount into a ball. Then smoosh down the center as your shape the sides, like a nest.

Fill with--
**green dyed coconut flakes (I put a few drops of food coloring in some corn syrup to make it stick a little better to each other)

Then fill with--
**Candy eggs like jelly beans or m&m's

And top with--
**Peeps birds

And place in--
**cupcake liners, optional

And lay on top of--
**Pretzel sticks, to lay underneath like sticks (not pictured because my husband ate them all! In his defense, he didn't know there was a planned photo shoot. geeze.)


Print Friendly and PDF

Saturday, February 26, 2011

Wallace and Gromit


Last night for movie night we watched 2 of the 3 adventures of Wallace and Gromit on Netflix. At first, the kids didn't really like Wallace and Gromit. They love Chicken Run but didn't realize they're made with the same stuff, clay! They had to adjust to the quirkiness and small amounts of dialog too which is a little different from the rest of the fast past animated type films they normally watch. I didn't realize W & G are obsessed with cheese until last night.

After the kiddos watched the third adventure today they decided they wanted cheese and crackers, just like they do in the movie. Sliced cheese. Last night S, before he watched the movie, insisted he did not want sliced cheese on his sandwich but shredded! Go figure! The power of media? Pickyness gone away with imagination? Who knows.

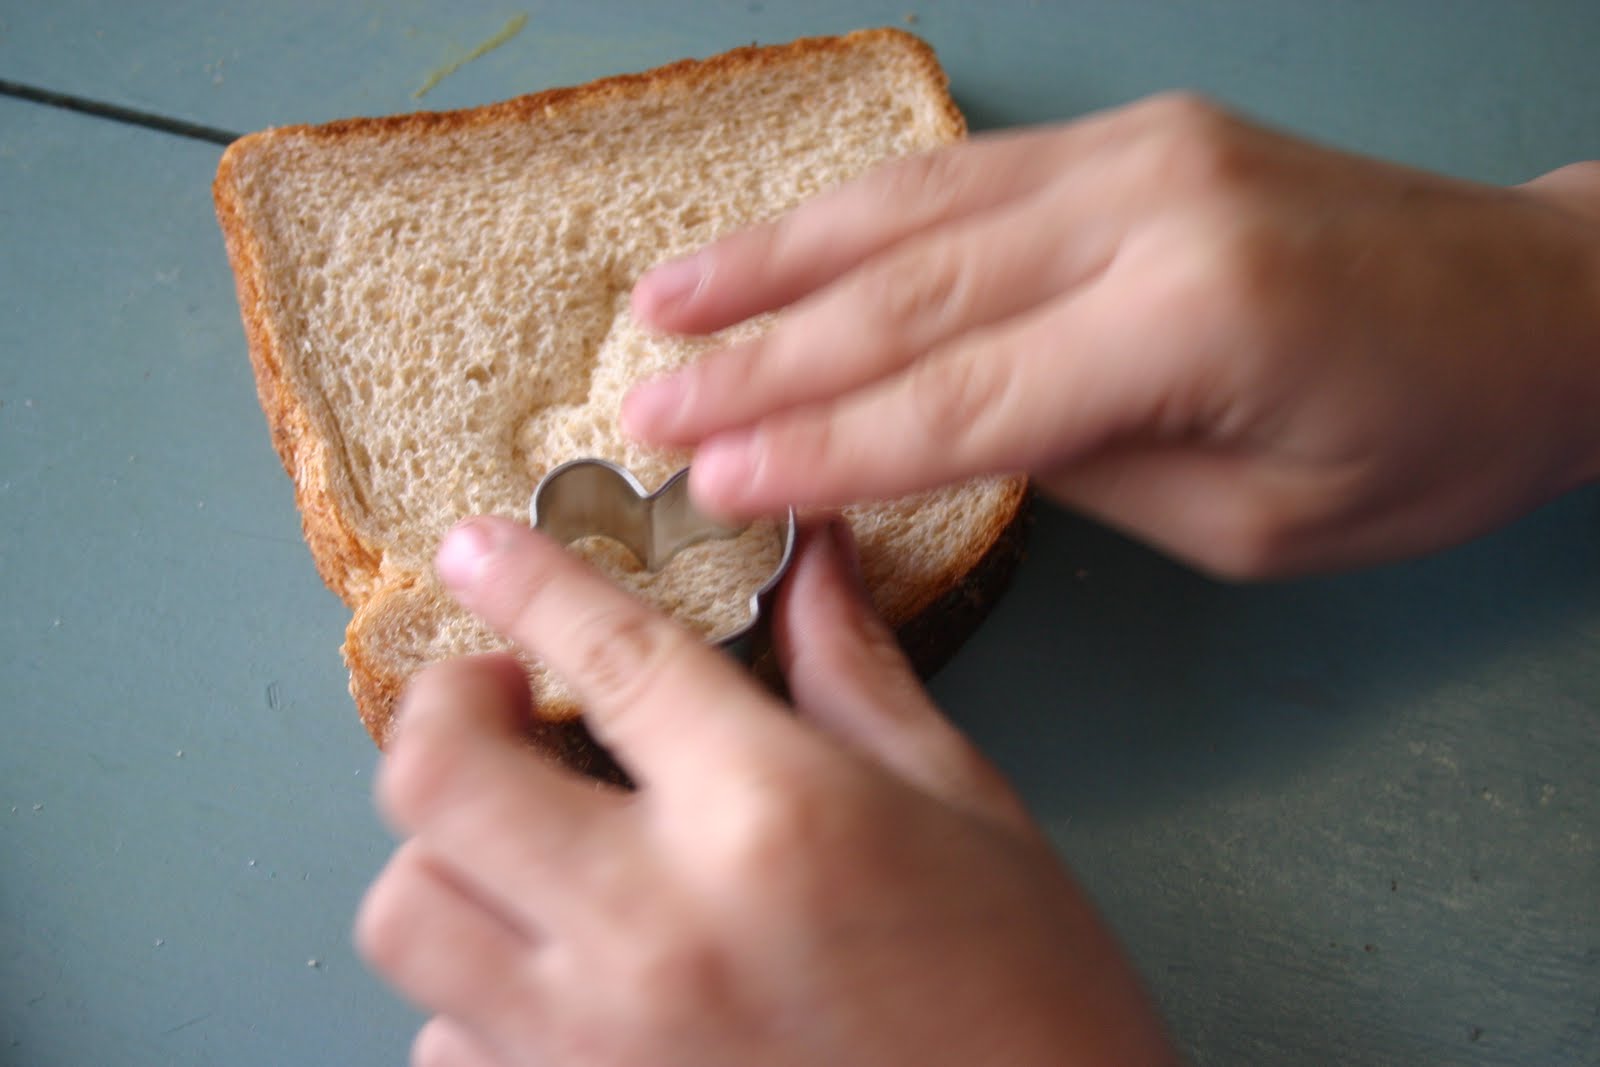
I had left out some mini-Easter cookie cutters. You see, I tried making Rice Krispie balls with peanut butter filing covered in chocolate. I tried it too with nutella. Neither worked so well. They fell apart and did not stay on their stick. Needless to say, I failed and will have to attempt to make them again after some adjustments so I can show you. But they did taste good! So, I had the cookie cutters out and I showed the kids how to have cute little crackers and cheese! Fun times!

Okay, that was a really long explanation. Now you get "crackin" and "cut some cheese!" Har, har.


Print Friendly and PDF

Friday, February 18, 2011

Dinosaur Dig

J wanted to do something special today. Was I surprised?

I am still recovering from our huge Church activity that I was in charge of last night. It turned out so beautifully and I'll share more on that once I get the photos from my friends awesome camera (because, of course, I forgot mine).

So this is what I wore today until about....well, now. C is down for nap #2 so I'll finally be able to get ready for the day.


So I thought of something spur of the moment and inspired by one of my favorite blogs One Charming Party. Sometimes those spur of the moment ideas are the best, aren't they?

You just need a few materials and you can make your own child sized table-top dinosaur dig!

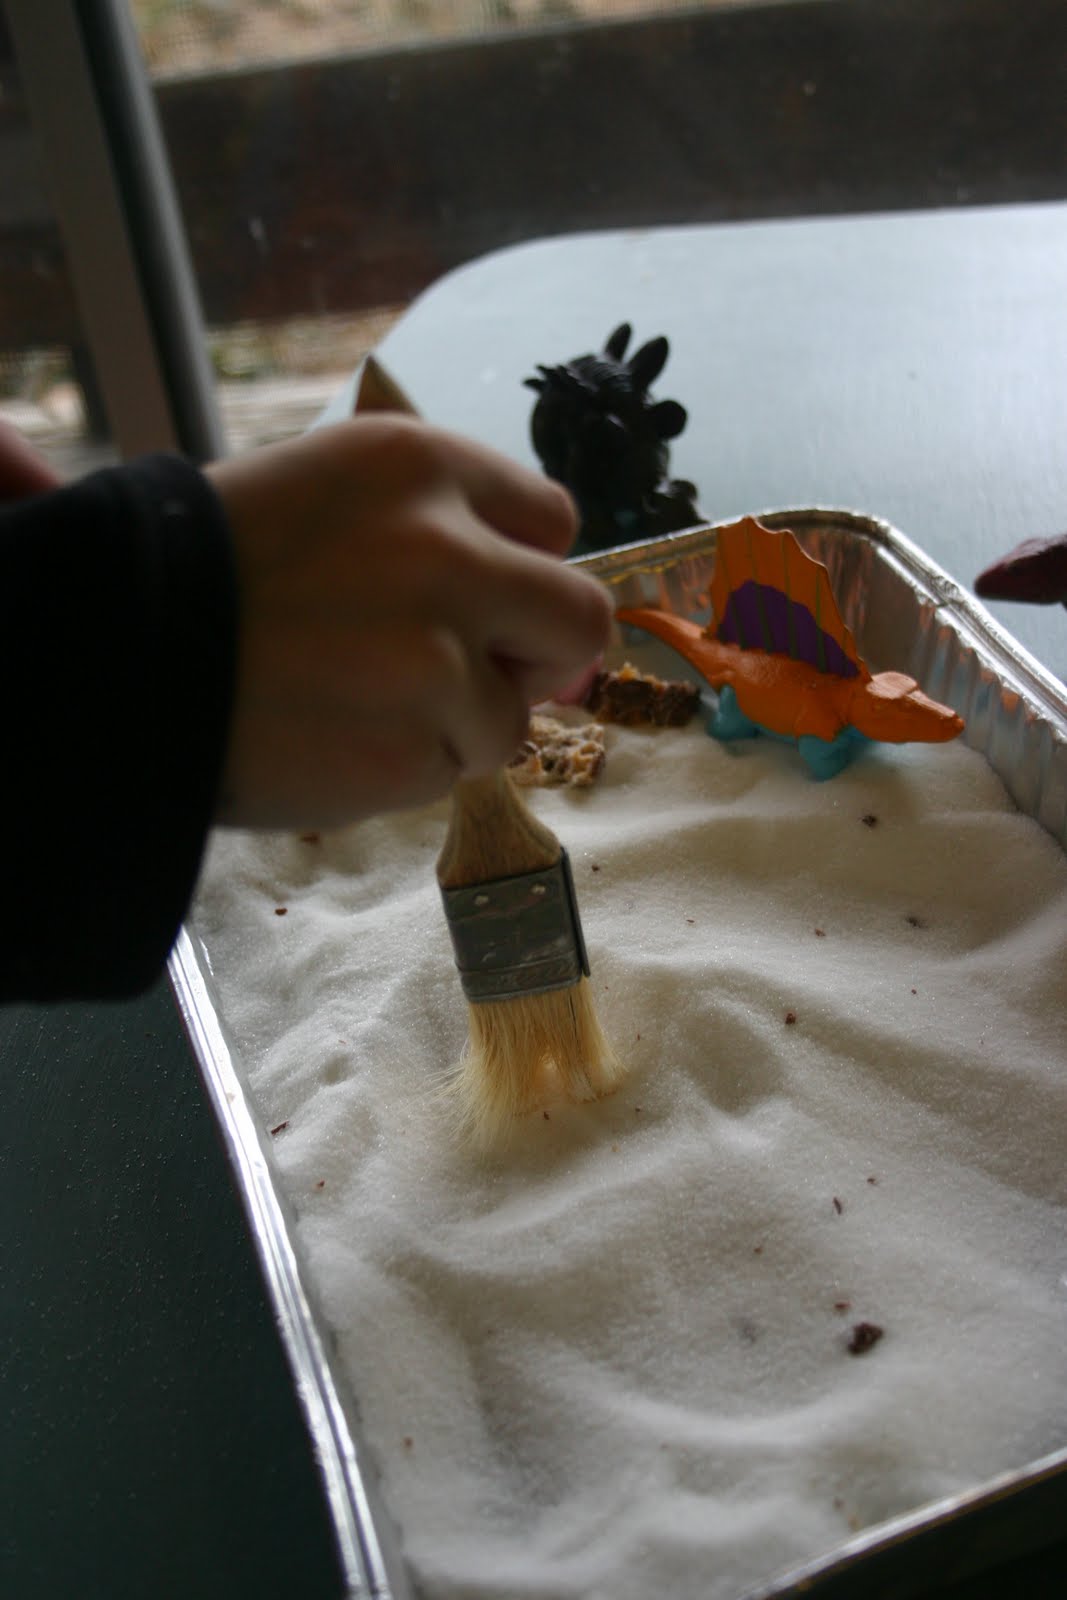
I grabbed a tray and filled it with some candy (fossils), cut up snickers look like really dino parts and mentos make great looking eggs:


Sugar and a brush (basting or painting). I used about 2 cups per cake pan sized tray:

Binoculars and Aprons:

A map:


And pried my son off Angry Birds and we were on an adventure!

It helps to speak in a cool explorer accent like Spanish (think Columbus) or Australian (think Crocodile Dundee....side note-when I was staying up late creating pom-poms for C's Caterpillar birthday party I watched both films back to back! It was so nostalgic!). Since I am not so hot at the Spanish thing I tried the Australian. S asked me to stop it because he thought it was "weird" but liked it after about 3 lines. Plus it's always fun for me to practice dialects that have been collecting dust in the back of my brain from my acting days.

So we went on our adventure looking for fossils around the house. We checked high and low until J spotted them (okay, she knew where I set it up) with her binoc's. After the initial shock, of, "cool, what is this?", they got to work!


This activity lasted at least 20 minutes after I left them. It makes a bit of a mess (and a tasty one) but it's totally worth it!

J cleaned all the dino's, reptiles and other creatures that belong in that basket. I like how she arranged them all over the sink to dry.


How would you arrange your dinosaur dig?
Print Friendly and PDF